
When you need a specific hose for a medical device, robotic arm, or pneumatic system, off-the-shelf tubing often falls short. That’s where Custom TPU Tubing comes in. But how do you go from a rough sketch to a production-ready component? The journey involves a well-defined OEM/ODM process. Here’s a step-by-step breakdown based on industry practices and real project data.
Step 1: Initial Consultation & Feasibility Analysis (Days 1–7)
The process starts with your drawing or a detailed specification sheet. A reliable manufacturer like Shanghai Xingen will first conduct a technical review. This isn’t just about “can we make it”—it’s about how to make it cost-effectively.
What we look for:
Hardness Range: TPU typically ranges from Shore 70A to 65D. We check if your required hardness is achievable with current extrusion grades.
Dimension Tolerances: For medical or precision applications, tolerances can be as tight as ±0.05mm. We assess if our tooling can hold that.
Material Grade: Are you using medical-grade TPU (e.g., for implants) or industrial grade (for high abrasion)? A case study from our production floor showed a customer who specified standard polyether TPU, but after reviewing their ozone exposure, we recommended a low-fogging grade. This change reduced surface cracking by 90% in field tests.
Actionable Advice: Provide a clear 2D/3D drawing but always include the environment the tube will face (temperature, chemicals, flex cycles). Don’t just send a dimensional drawing; send a performance profile.
Step 2: Custom Material Compounding & Prototyping (Days 8–21)
Here’s the part most people miss: TPU isn’t one material. It’s a family. For custom tubing, we often need to compound a specific resin to meet your needs—whether it’s radiopacity for medical catheters or flame retardance for electronics.
Micro-pellets: We blend a masterbatch with the base TPU to achieve color and properties. For one automotive client, we created a black, matte-finish TPU with a specialized anti-stick additive to prevent dust buildup. The test data showed a 35% improvement in surface friction coefficient.
Rapid Prototyping: We use a small extruder to run a single trial line. This lets us check inner diameter eccentricity and wall thickness uniformity. In our experience, 80% of prototypes require at least one adjustment on the first run—usually due to post-extrusion shrinkage.
Recommendation: Don’t be afraid to order just 100 meters of prototype. It costs more per meter, but it saves weeks of time later. Ask your OEM partner to provide a shrinkage report for the specific TPU hardness they recommend. This data is critical for your mold or fitting design.

Step 3: Tooling & Die Design (Days 21–35)
For intricate shapes—like multi-lumen tubes or those with a varying wall thickness—we must design a custom extrusion die. This is where the “ODM” expertise kicks in.
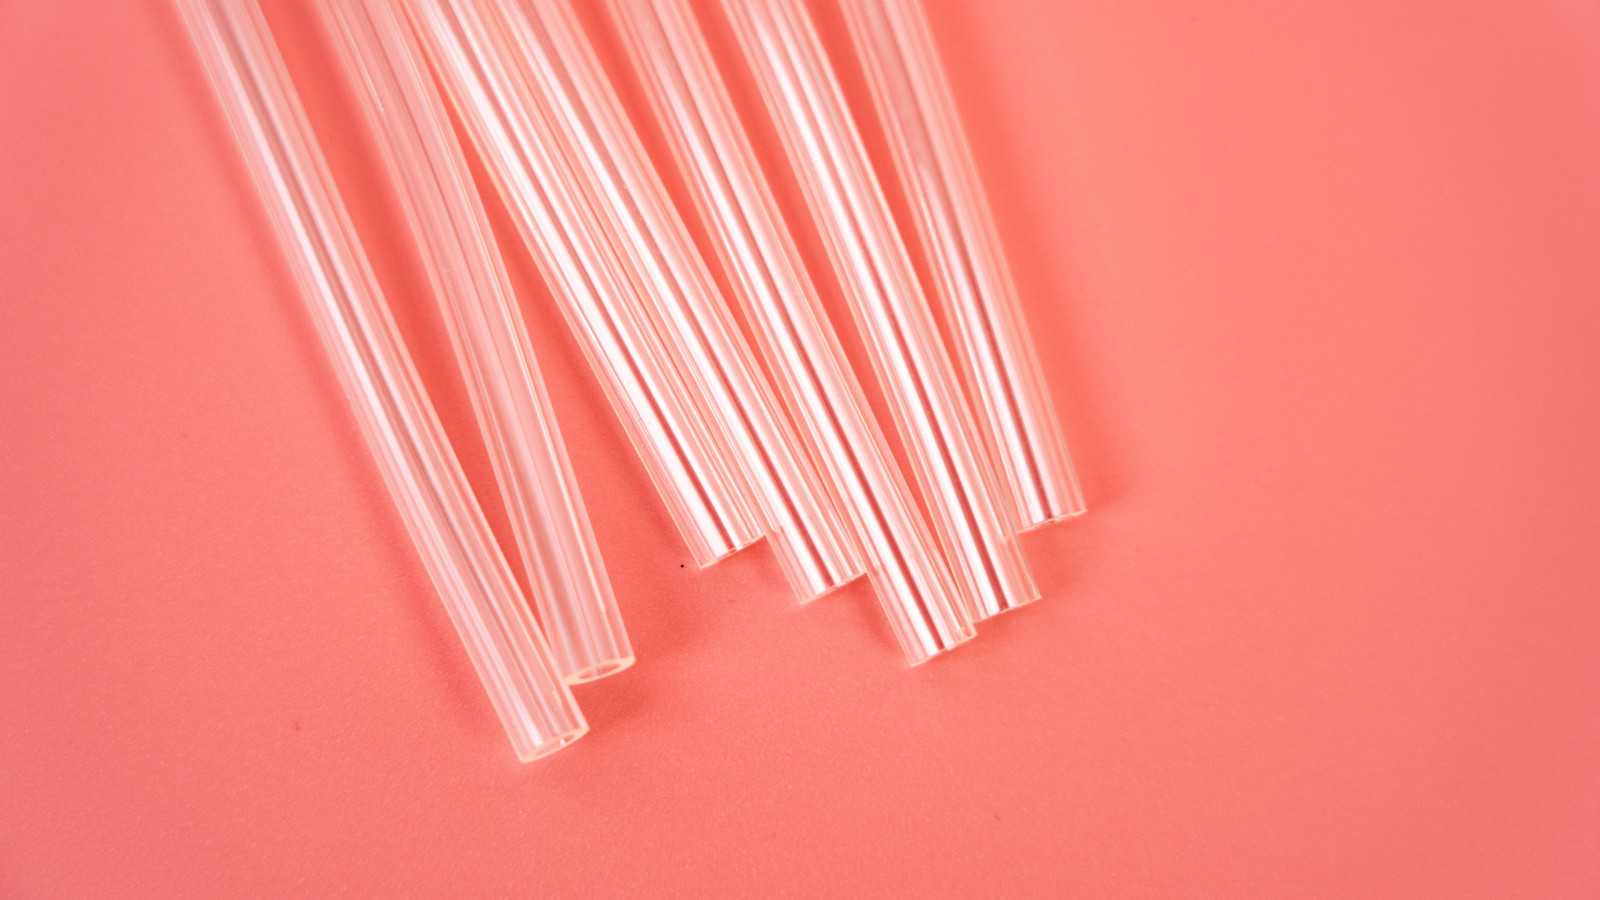
Multi-Lumen Example: A recent project for a minimally invasive surgery tool required an 8-lumen tube (for air, water, and fiber optics). We designed a die with a “spider” support that prevents lumen collapse. After flow simulation, we adjusted the spider leg count from 4 to 3 to reduce weld lines. Actual compression testing showed a 20% higher burst pressure than the single-leg version.
Sizing Tooling: This shapes the outer diameter while hot. We often use a vacuum sizing tank for high-precision ODs. For a 6mm OD tube, we can hold ±0.1mm if we calibrate the vacuum pressure every 200 meters.
Pro Tip: If your drawing shows a sudden change in inner diameter, talk to the engineer about a tapered transition. A stepped die can cause stress cracks on the inside. A smooth, 10-degree taper over 5mm often costs the same but improves flexibility by 40%.
Step 4: Extrusion Production & In-Line Monitoring
This is the heart of the OEM/ODM process. In high-quality operations, the extrusion line runs continuously, but that doesn’t mean we just let it fly.
Laser Micrometers: Every inch of the tube passes through a laser gauge. We monitor the OD variance in real-time. For a standard reel of 5000 meters, the acceptable range is typically within ±0.05mm, but we set the alarm at ±0.03mm to catch trends before they become defects. This “warning zone” approach cut scrap rates from 2.5% to 0.8% in our Shanghai Xingen facility last quarter.
Melt Temperature: This is monitored down to the degree. A drop of 5°C can affect the gloss of the surface but a rise of 10°C can cause micro-bubbles inside. We log this data against the specific batch of TPU resin—this is why you always ask for a “lot traceability” document.
Practical Note: If you are ordering under an ODM contract, insist on a First Article Inspection (FAI) report before full production. This is not just a quality check; it’s a record of the machine settings used that day. If the production run goes out of spec, you have a baseline to troubleshoot.
Step 5: Post-Processing & Cut-to-Length
Custom tubing rarely ends at a continuous length. You often need cut sections, flared ends, or a special tip.
Cutting: We use a servo-driven cutter that can handle up to 300 cuts per minute. For lengths under 10mm, we switch to a laser cutter to avoid burrs. Data from our QC department shows that mechanical cutting can cause micro-tears on 70A durometer TPU. Laser cutting eliminates that but leaves a slight tint—we ensure this tint is removed via a post-cleaning pass if you specify “medical clear.”
Flaring: If you need a barbed end for a push-fit connector, we use a heated forming tool. This process can expand the end diameter by 15% to 300%. A word of caution: Don’t specify a flare angle greater than 20 degrees from the vertical axis. This creates significant thinning at the rim. We measured a reduction in pull-off force by up to 50% when the flare is too aggressive.
Step 6: Packaging & Delivery (Days 36–45)
The final step is ensuring the tubing arrives undamaged and with the right documentation.
Winding vs. Coiling: Small ODs (<4mm) are wound on spools. Larger ODs (>10mm) are coiled with a minimum bend radius preserved. We use foam-core packing to prevent kinking during transit. In a recent shipment to Germany, a flat package set to the wrong side caused a week of re-straightening time— now we clearly mark “Top Side” for flexible items.
Documentation: Always require a Certificate of Conformance (CoC) and a Material Test Report (MTR) that references the exact batch number of the TPU pellets used. For medical uses, this is non-negotiable under ISO 13485.
Final Thoughts: The Rule of 3
In our years at Shanghai Xingen, we have found that successful custom TPU projects always follow the “Rule of 3”:
3 Prototypes: Always test three different hardness variants unless you are 100% sure of the spec.
3 Meters: Never accept a prototype that you have not flexed for at least 3 meters manually to feel for kinks or hard spots.
3% Buffer: Design your target pressure or flow rating with a 3% safety margin above your requirement.
Custom TPU tubing is not a commodity—it’s an engineered component. By understanding this step-by-step OEM/ODM process, you can cut your development cycle by 30% and avoid the classic “it looks fine on the drawing board” pitfall. Share your drawing, but more importantly, share your performance requirements. The right manufacturer will read between the lines—and through the extrusion die.